
Setting Up the CAD
This page is for server admins. You need server administrator access and an active Departments subscription, which includes the CAD on every plan. If you just want to use the CAD, see Joining the CAD.Enabling the CAD
1
Create your departments
Create a department for each team that will use the CAD and give it the right Department Type. See the Department Server Guide.
2
Turn the CAD on
Go to Dashboard, then Departments, then Settings, and click Enable on the Melonly CAD card. See Departments.
3
Open the admin panel
Click Configure CAD on the same card. Use Copy CAD Link to share the CAD with your members.
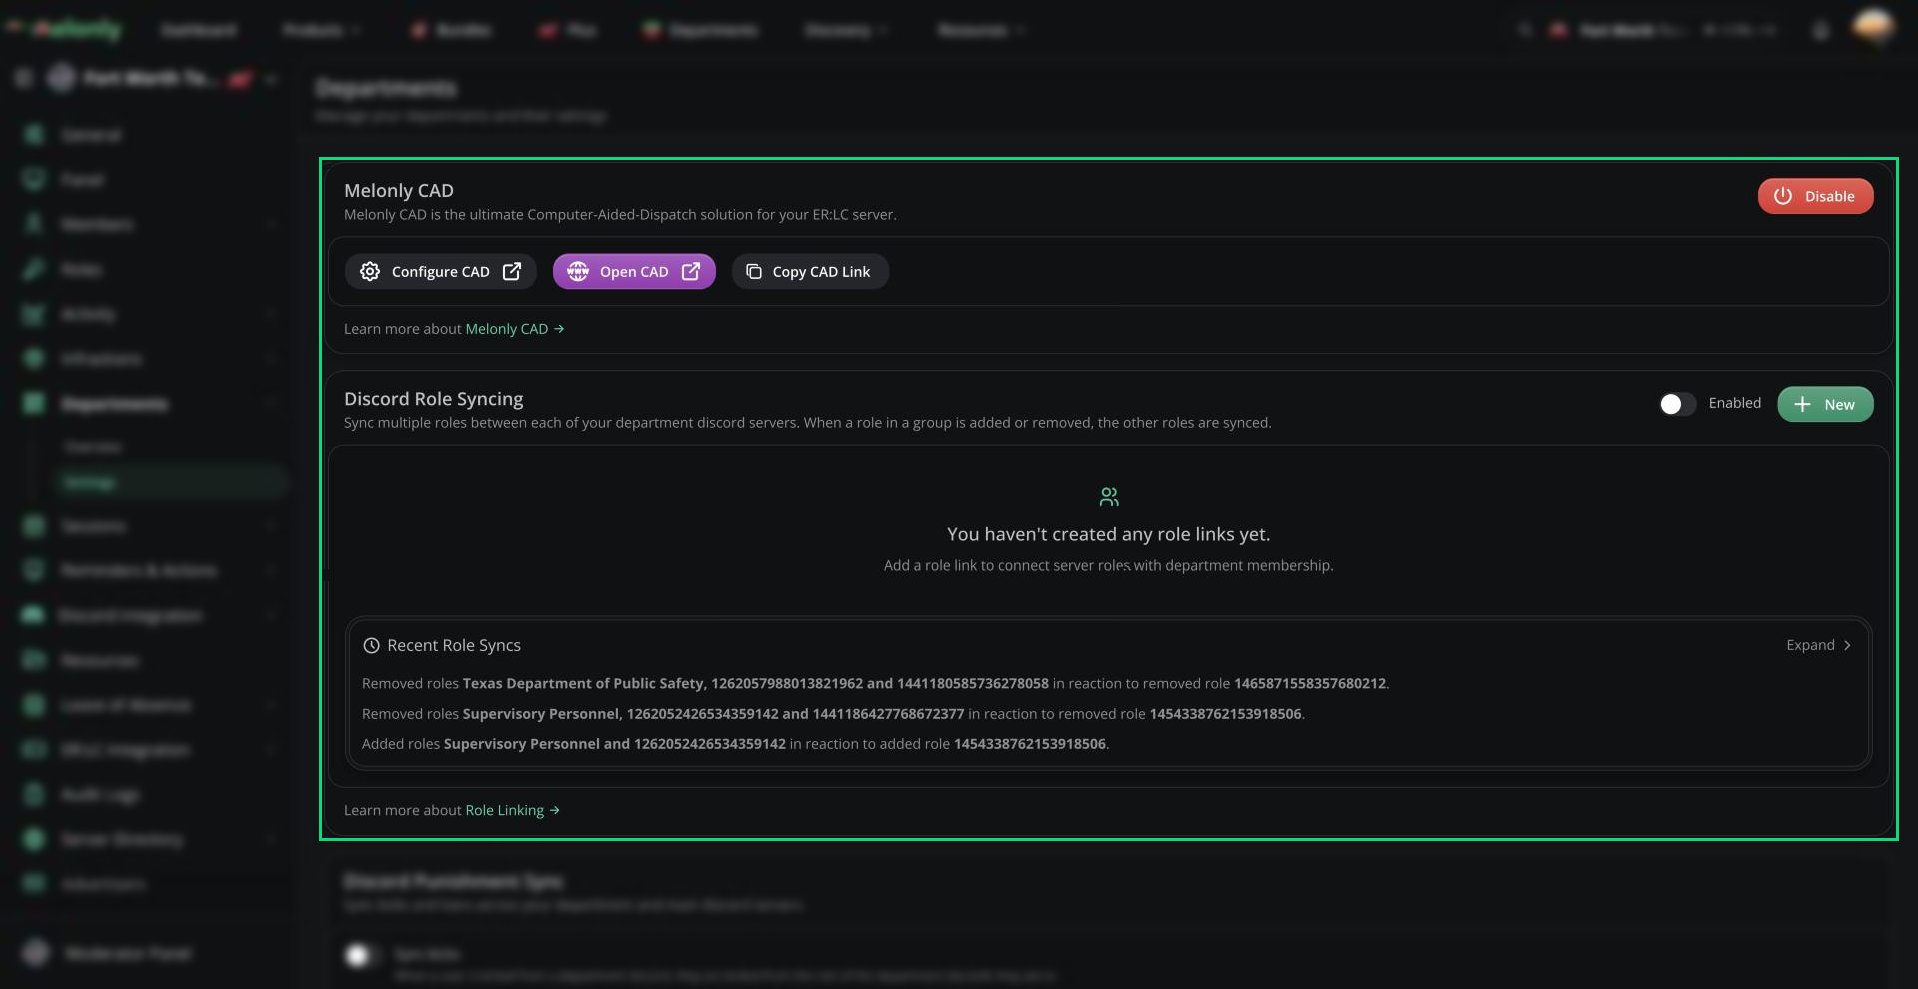
Melonly CAD on the Departments settings page
Linking Departments to Panels
Each department’s type decides which panel its ranks can unlock.- A Police, Fire, EMS, DOT or Dispatch tile stays greyed out until a department of that type exists.
- Civilian, Law and DMV need at least one department of any type.
- Tick CAD permissions on each rank in the department’s rank settings. See Roster and Permissions.
Setup Checklist
Work through these in the admin panel. You can also reach it from the Admin button at the bottom of the panel picker.1
Review general settings
Choose whether units can self-dispatch, whether people must be clocked in or running a bodycam, and whether the Civilian panel is open to everyone. See Config.
2
Create agencies
Nobody can create a unit on a panel until it has at least one agency. See Agencies.
3
Set up your panels
Rename panels, change colours and images, add extra service panels, and limit panels to certain agencies. See Customization.
4
Customise codes and statuses
Set regional terms, 10-codes, unit statuses, groups, tones and address shortcuts. See Regionality and 10-Codes.
5
Build record templates
Edit the default templates or create your own records, reports, licences and vehicle registrations. See Templates.
6
Set up the law
Add acts and charges, speeding fines, surcharges and licence suspensions. See Law.
7
Create radio channels
Add channels and channel groups so units can talk. See Channels.
8
Invite people
Department members can open the CAD straight away. For anyone else, create a join code. See Join Codes.
Next Steps
Joining the CAD
How members open a panel, join with a code, and clock in.
Permissions
What each rank permission unlocks.
Need help?
Still have questions? Join our Discord server for support from the Melonly Team.