
Area of Roleplay
Add a custom area
Click Open Area of Roleplay Editor in the feature settings. Press Create Custom, resize the green rectangle over the area where roleplay is allowed, then click Save.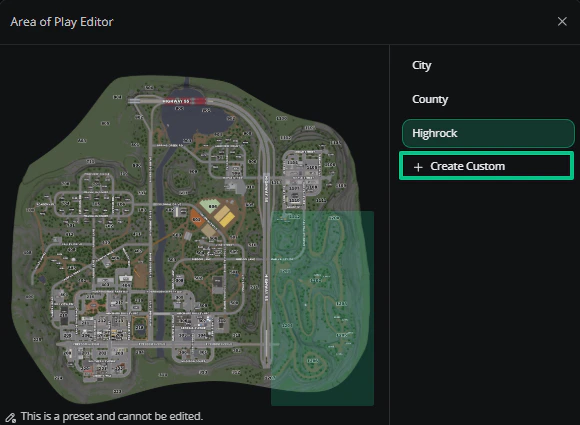
Area of Roleplay editor
Add multiple areas
Add more rectangles to the existing custom area. You don’t need to create a new custom area — stack rectangles in the same editor.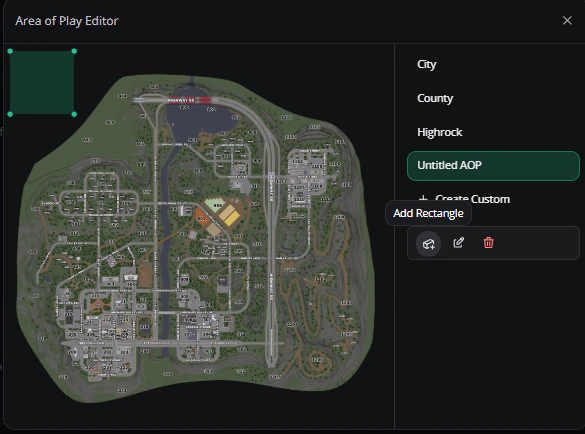
Multiple Area of Roleplay rectangles
Rename an area
Click the rename button next to the area and enter a new name.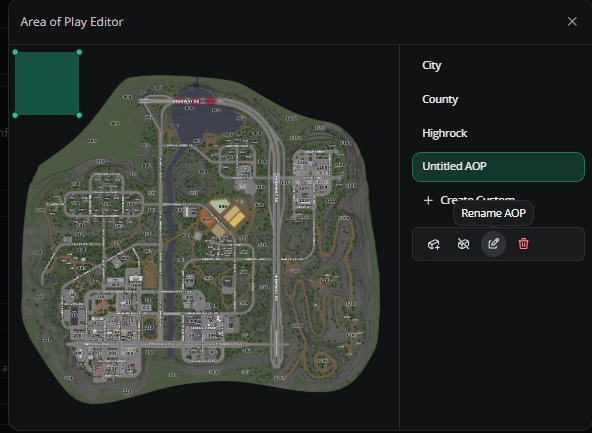
Rename an area
Remove an area
Open the editor, click the rectangle you want to delete, and confirm.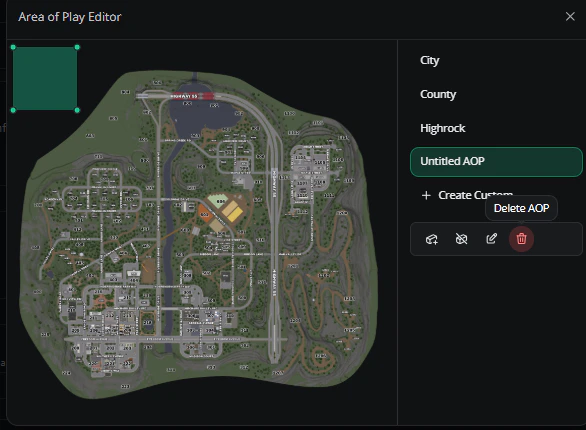
Remove an area
Team Jurisdiction
Add a custom jurisdiction
Click Open Team Jurisdiction Editor. Press Create Custom, resize the green rectangle over the area, then click Save.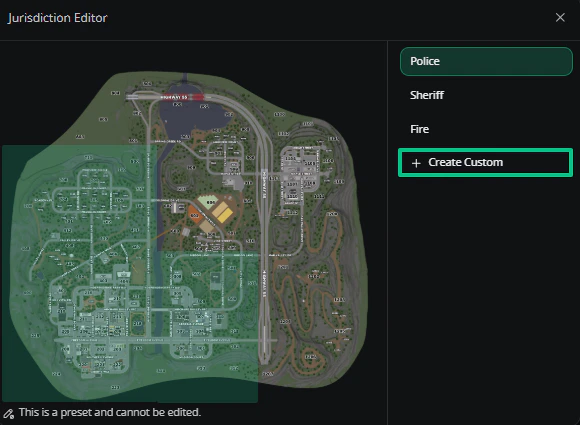
Team Jurisdiction editor
Add multiple jurisdictions
Add more rectangles to the existing custom area.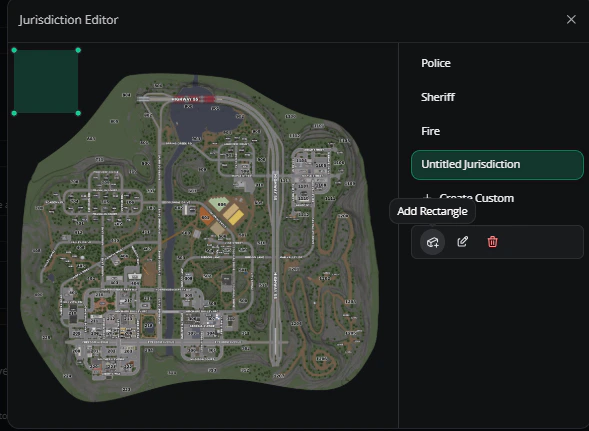
Multiple jurisdiction rectangles
Rename a jurisdiction
Click the rename button and enter a new name.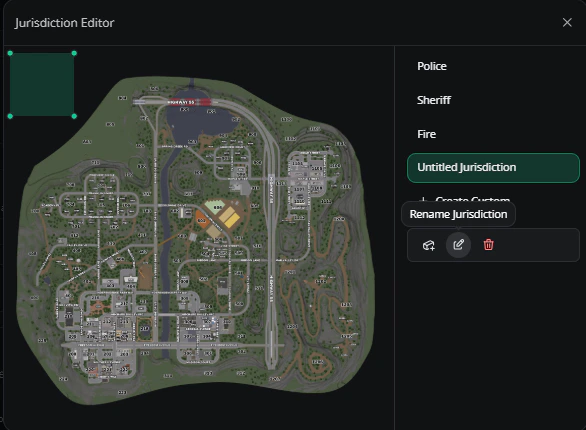
Rename a jurisdiction
Remove a jurisdiction
Open the editor, click the rectangle you want to delete, and confirm.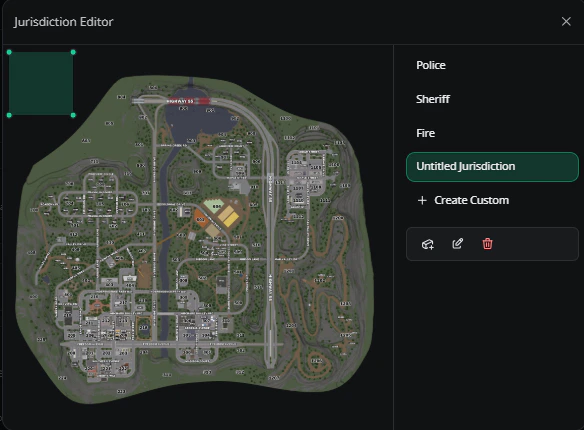
Remove a jurisdiction
Safe Zones
Add a custom safe zone
Click Open Safe Zones Editor. Press Create Custom, resize the green rectangle over the area where players can’t damage each other, then click Save.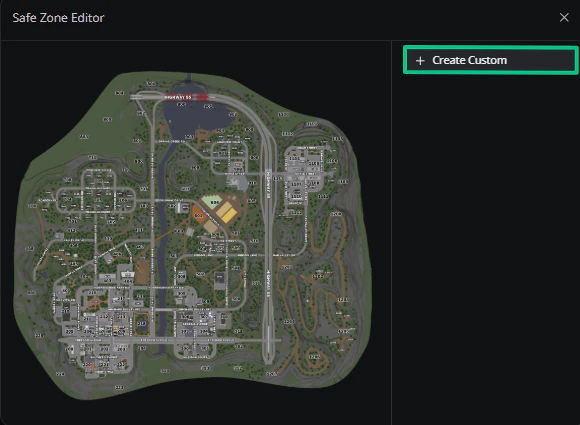
Safe Zones editor
Rename a safe zone
Click the rename button and enter a new name.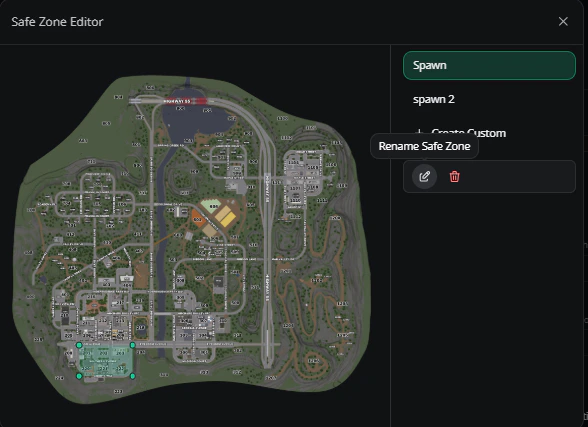
Rename a safe zone
Remove a safe zone
Open the editor, click the rectangle you want to delete, and confirm.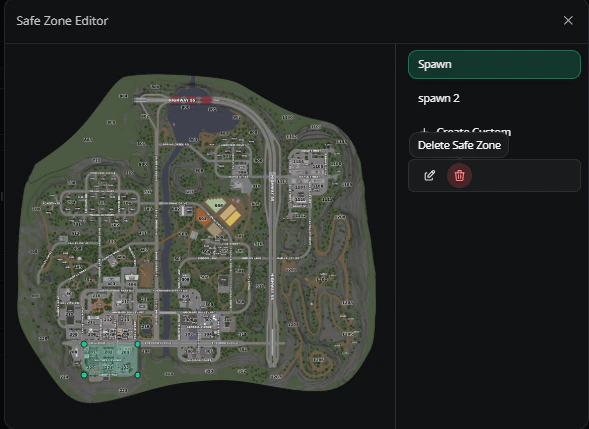
Remove a safe zone
Need help?
Still have questions? Join our Discord server for support from the Melonly team.