
What is Member Management?
Member Management is how you control who is in your server and which roles they hold. You can add and remove members, assign roles, and promote or demote staff, all from the Members page.Managing Members
Open Members on your dashboard to get started.Available Actions
1
Add Member
New members join with your join code or link, which you’ll find on the General Settings page. See the joining guide for how they use it.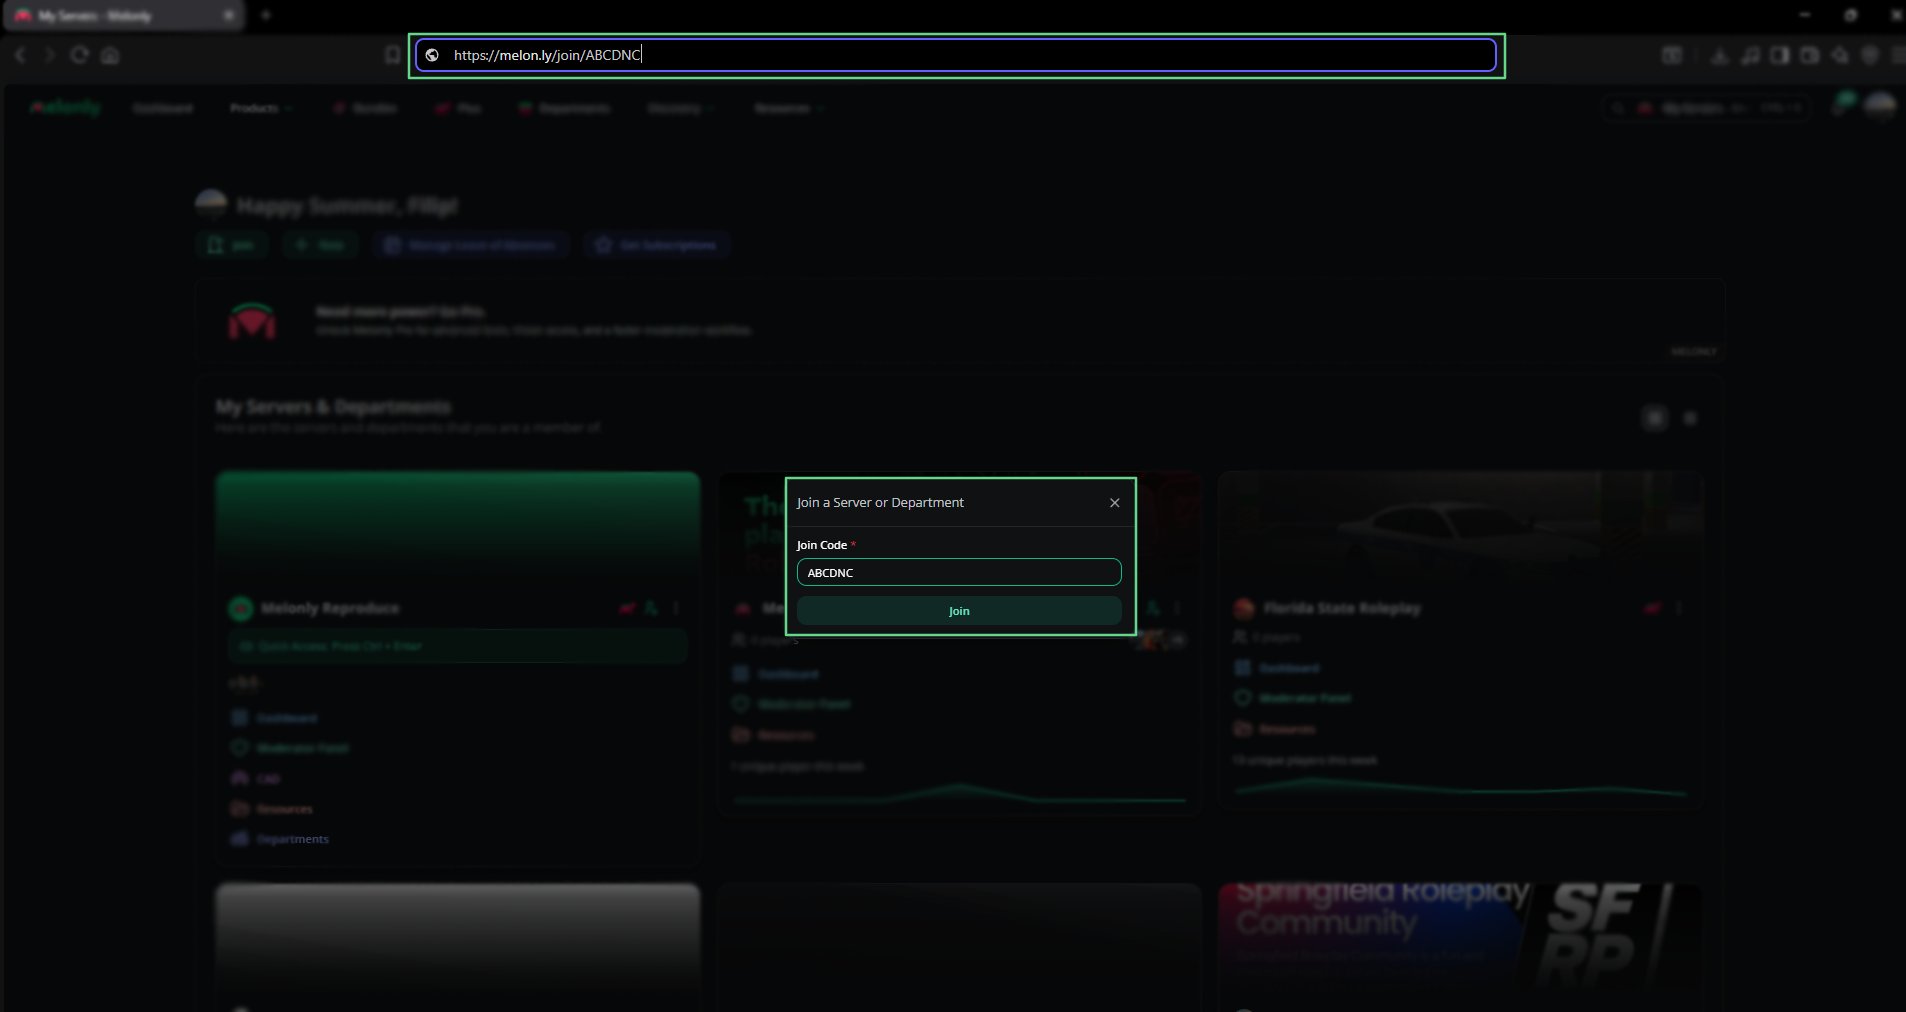
2
Remove Member
Hover over a member and click the remove icon. Hold Shift while you click to skip the confirmation.
3
Assign Roles
Use the dropdown next to a member to give or remove roles. A member can have several roles.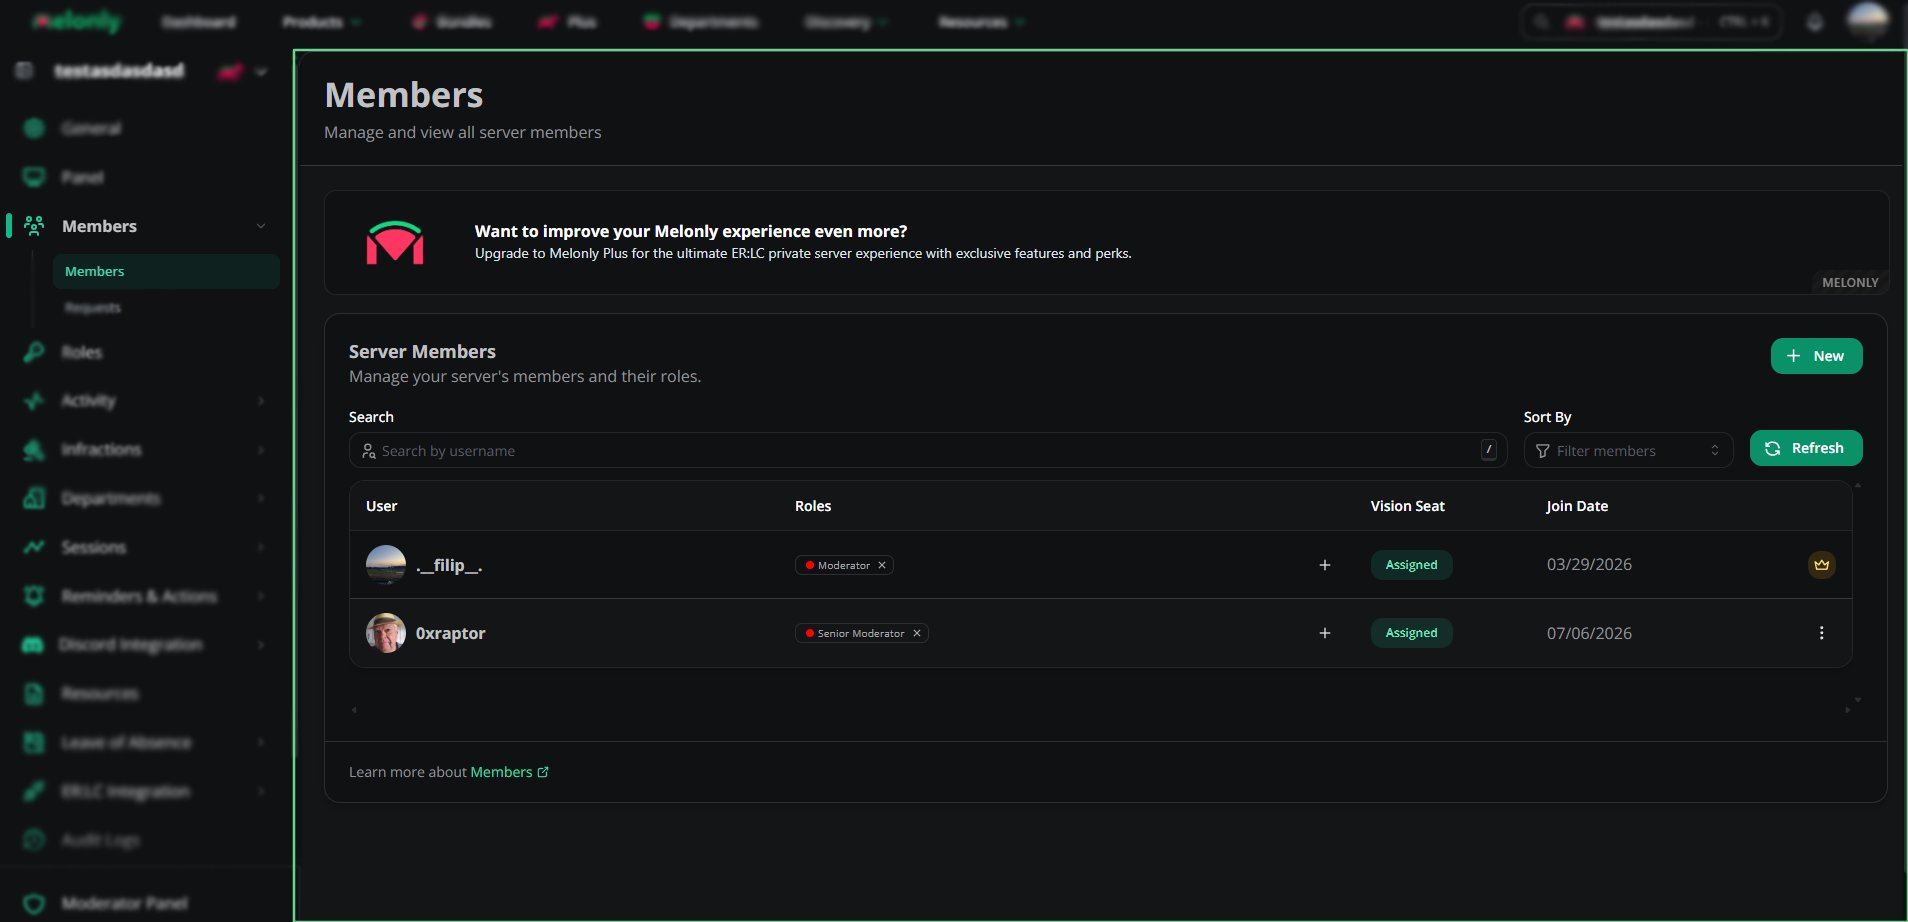
4
Sort and Filter
Sort members by rank or join date, and filter by role or status to find someone quickly.
5
Vision Seat Management
Give or remove Vision Seats straight from the table. A Vision Seat lets that member use the Melonly Vision app on this server.
Member Overview
Promotions and Demotions
Promote or demote staff, and optionally announce it with a shout or a DM.1
Start a New Action
Click New in the top right of the Members page, then pick Promotion or Demotion. You can also open a member’s menu (⋮) and pick it from there.
2
Pick the Members
Choose who to promote or demote. Their current role shows automatically. You can pick several members to move to the same role at once.
3
Choose From and To Roles
Pick their current role (From) and their new role (To).
4
Set the Optional Settings
Choose whether to:
- Create a shout
- DM the member
- Schedule the action
- Pick an announcement channel
- Add GIFs, stickers or emojis
5
Confirm the Action
Check the details and click Confirm.
Promoting a member
Member Icons Explained
Icons in the members table show special statuses at a glance.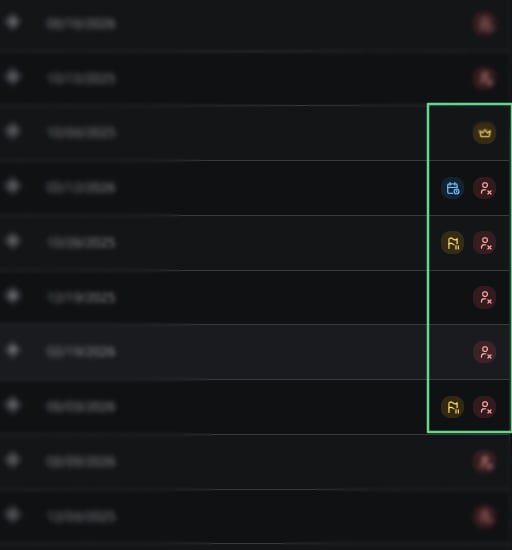
Member Icons
Need help?
Still have questions? Join our Discord server for support from the Melonly Team.