
Dispatch Tools
The tone board, signal manager and timers live under Dispatch Tools in the CAD menu.Sending tones, signals and timers needs the Dispatch panel, or the panel’s supervisor permission. Supervisors can only target units and agencies on their own panel.
Tone Board
The tone board plays alert tones to units, panels or radio channels, such as a station alert before a call.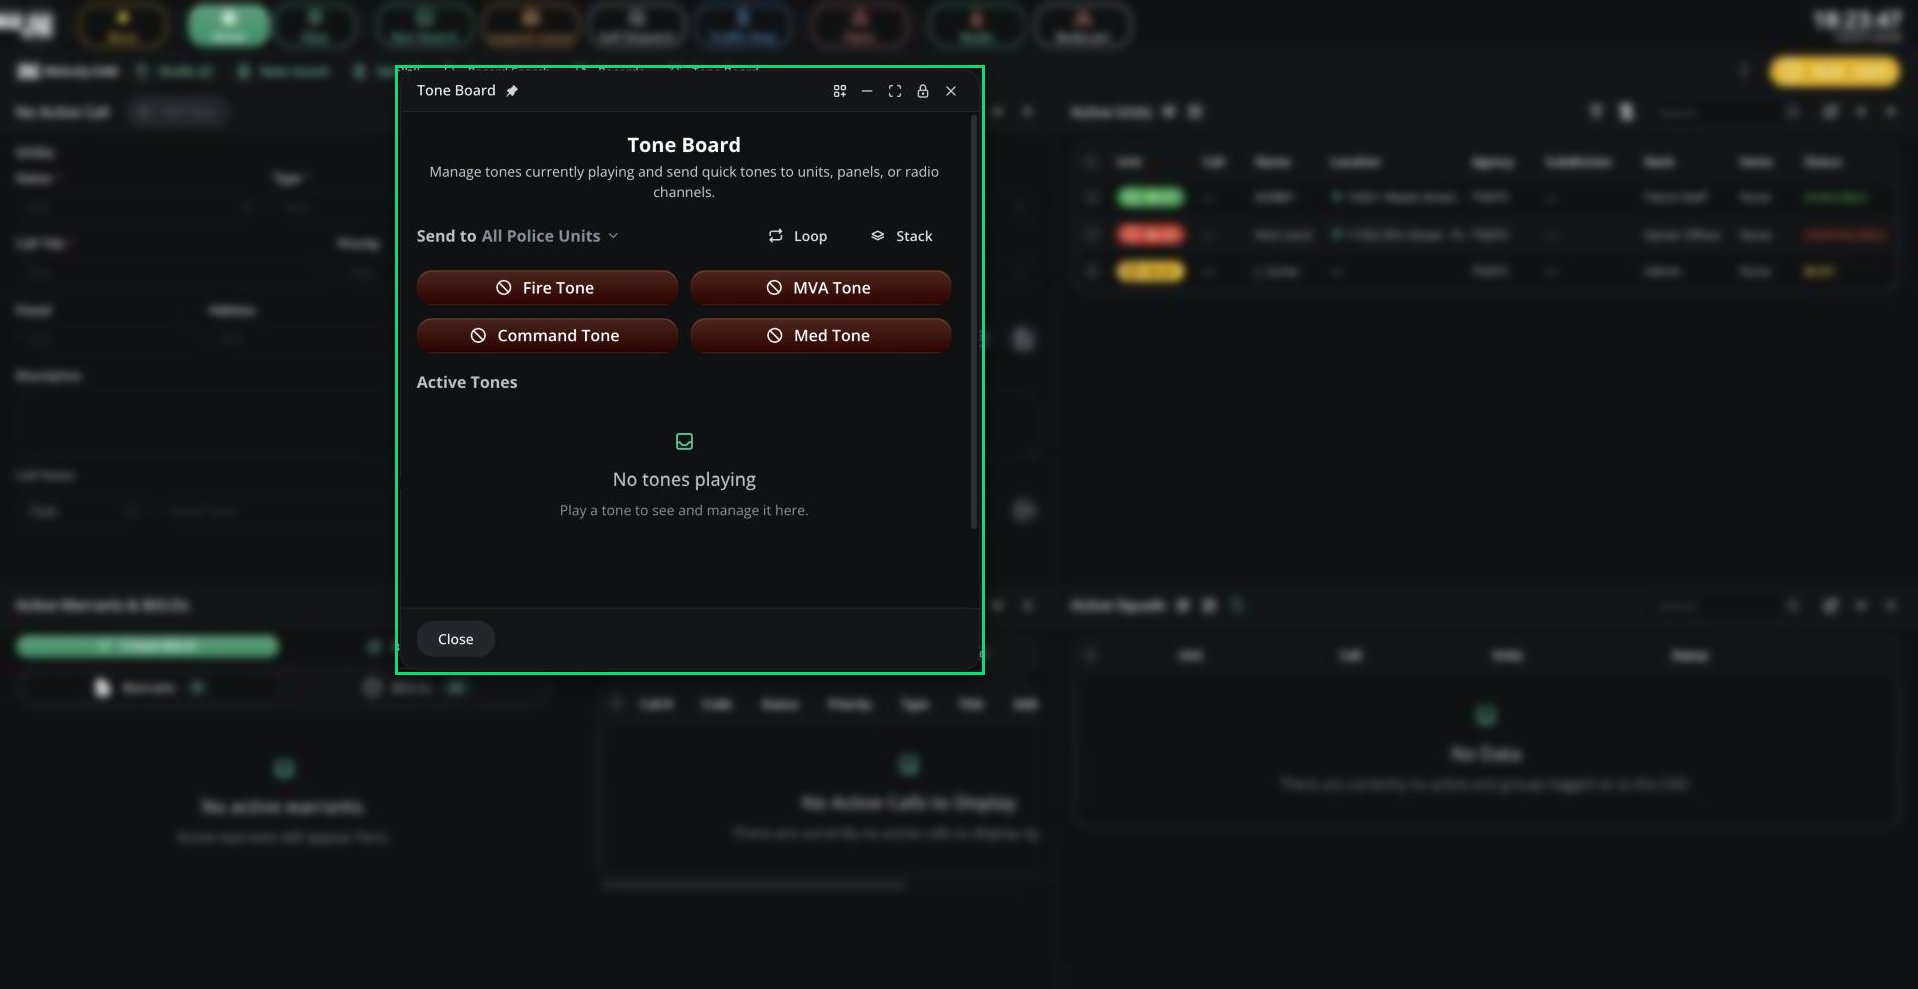
Tone Board
1
Choose who hears it
Pick a target under Send to. Service panels send to their own units. Dispatch can send to all units, filtered units, or a radio channel.
2
Play a tone
Click a tone button to play it once.
Active Tones lists everything playing, where you can preview, change the repeat or stop a tone. Supervisors can stop anyone’s tones.
You can also right-click a unit or call and choose Tone Board, or click the bell on a radio channel.
The tone buttons are your server’s custom tones (up to 30), set up in Customization.
Signals
A signal is a server-wide alert code, such as Signal 100, that tells units something is in effect, for example emergency traffic only. Open Signal manager from Dispatch Tools.
Click Emit signal. Units see a red bar under the top bar and hear a reminder tone every 30 seconds until you click End Signal. Presets are set up in Customization.
Timers
Timers count down and alert listeners when they finish, for example to check on a unit.- Open Timers from Dispatch Tools, or right-click a unit or call and choose Add to Timer.
- Click New timer and enter a name, a duration (up to 60 minutes) and the listeners.
- Click Create timer.
Live Map
The live map shows units and calls on your ER:LC map in real time. Open the Map tab on service panels, or Live Map on Dispatch. Pop out opens it in its own window.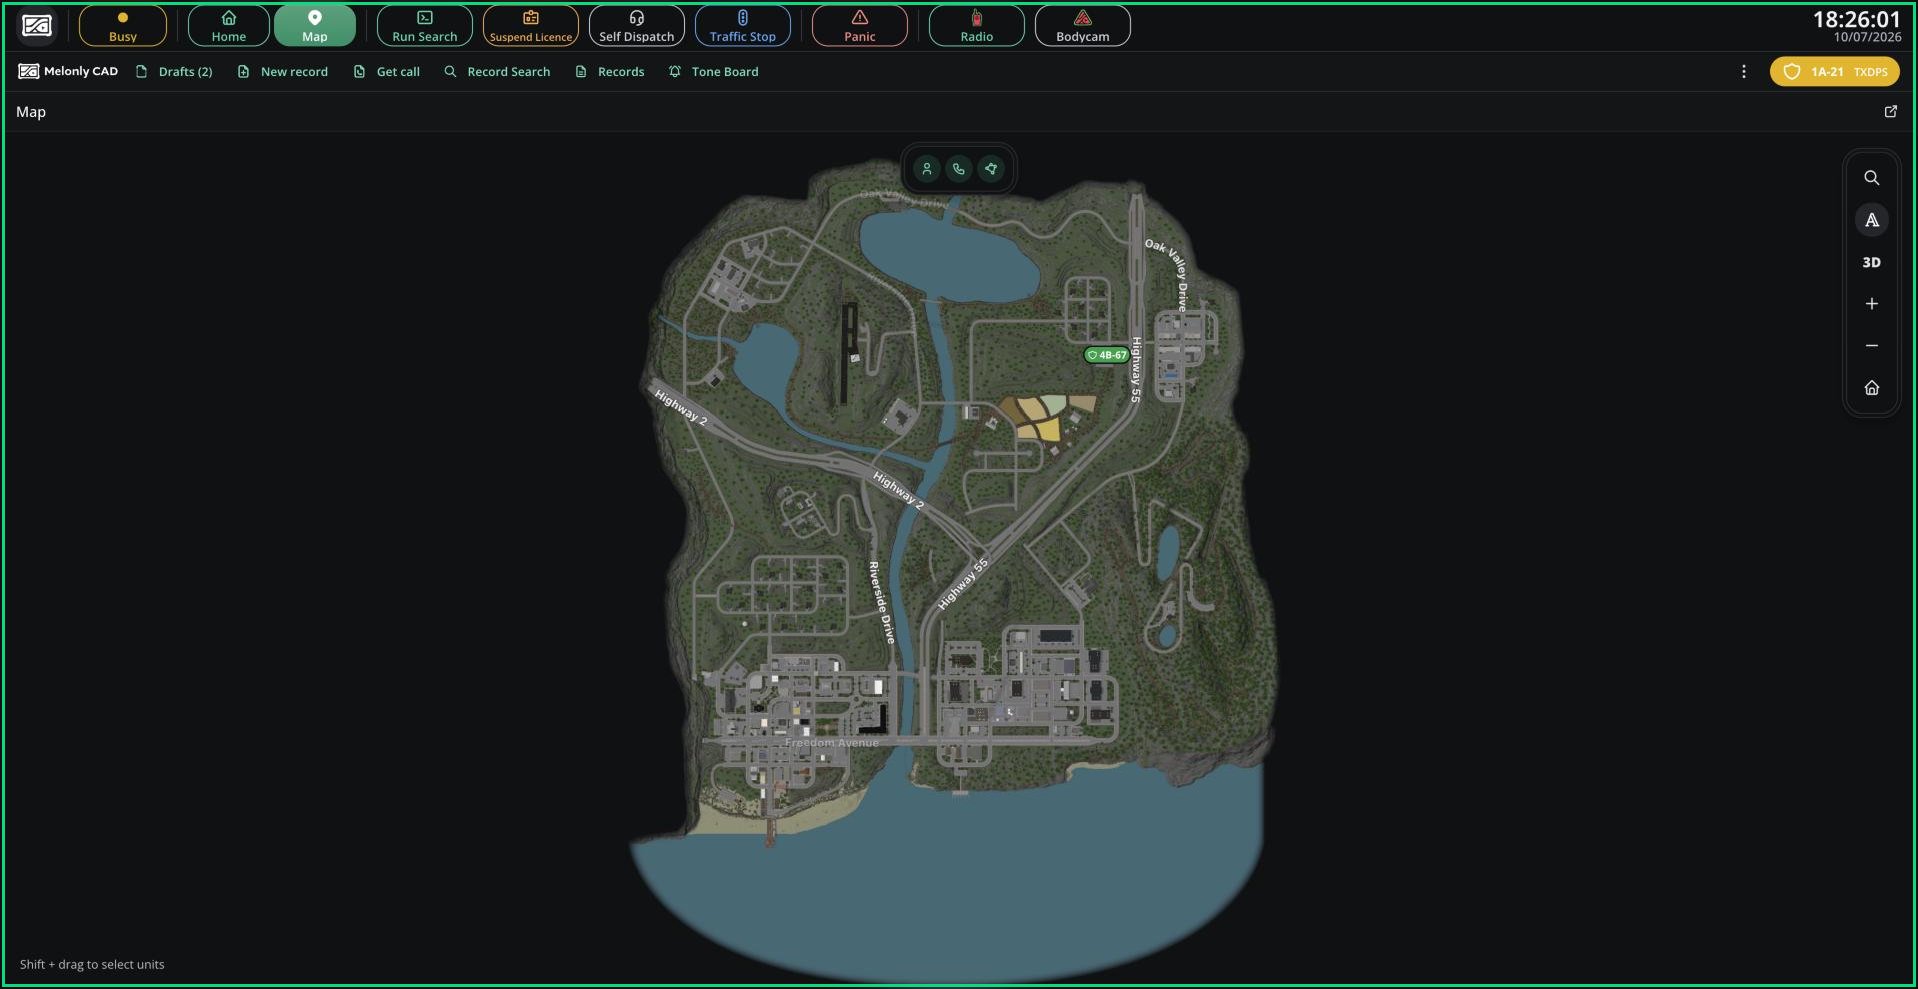
Live map
- Toggle units, calls, jurisdictions and labels, and switch between 2D and 3D.
- Search for a street, postal or building with Find a location.
- Click a marker for its menu. Right-click the map for the closest units.
- Dispatchers can Shift + drag to select units, then drop them on a call.
Notepad
The notepad is a scratch pad for your shift. Open Notepad from the CAD menu. Add as many notes as you like, and drag records onto a note to attach them. Notes are saved on this device only and don’t follow your account.Need help?
Still have questions? Join our Discord server for support from the Melonly Team.